 |
Photo Slide Lamp-with light off |
I used a travel theme!
What you need:
-Wire Lampshade Frame, ... this one is a custom UNO Fitter,
Ring Diameter=9 inch, Fitter Drop 6 inch
From: ReplacementLampShades.com
*If I were to make another, I would order the Fitter Drop to be 8 or 9 inch instead of 6 inch. That would make the bulb sit more in the middle of the shade.
-80 to 100 (Square Outer Edge) Photo Slides,
This shade is made with slides held in Landscape direction.
There is 14 slides in a row and 6 rows
-10mm Jump Rings, same metal color as the fitter frame.
This shade used 504 jump rings.
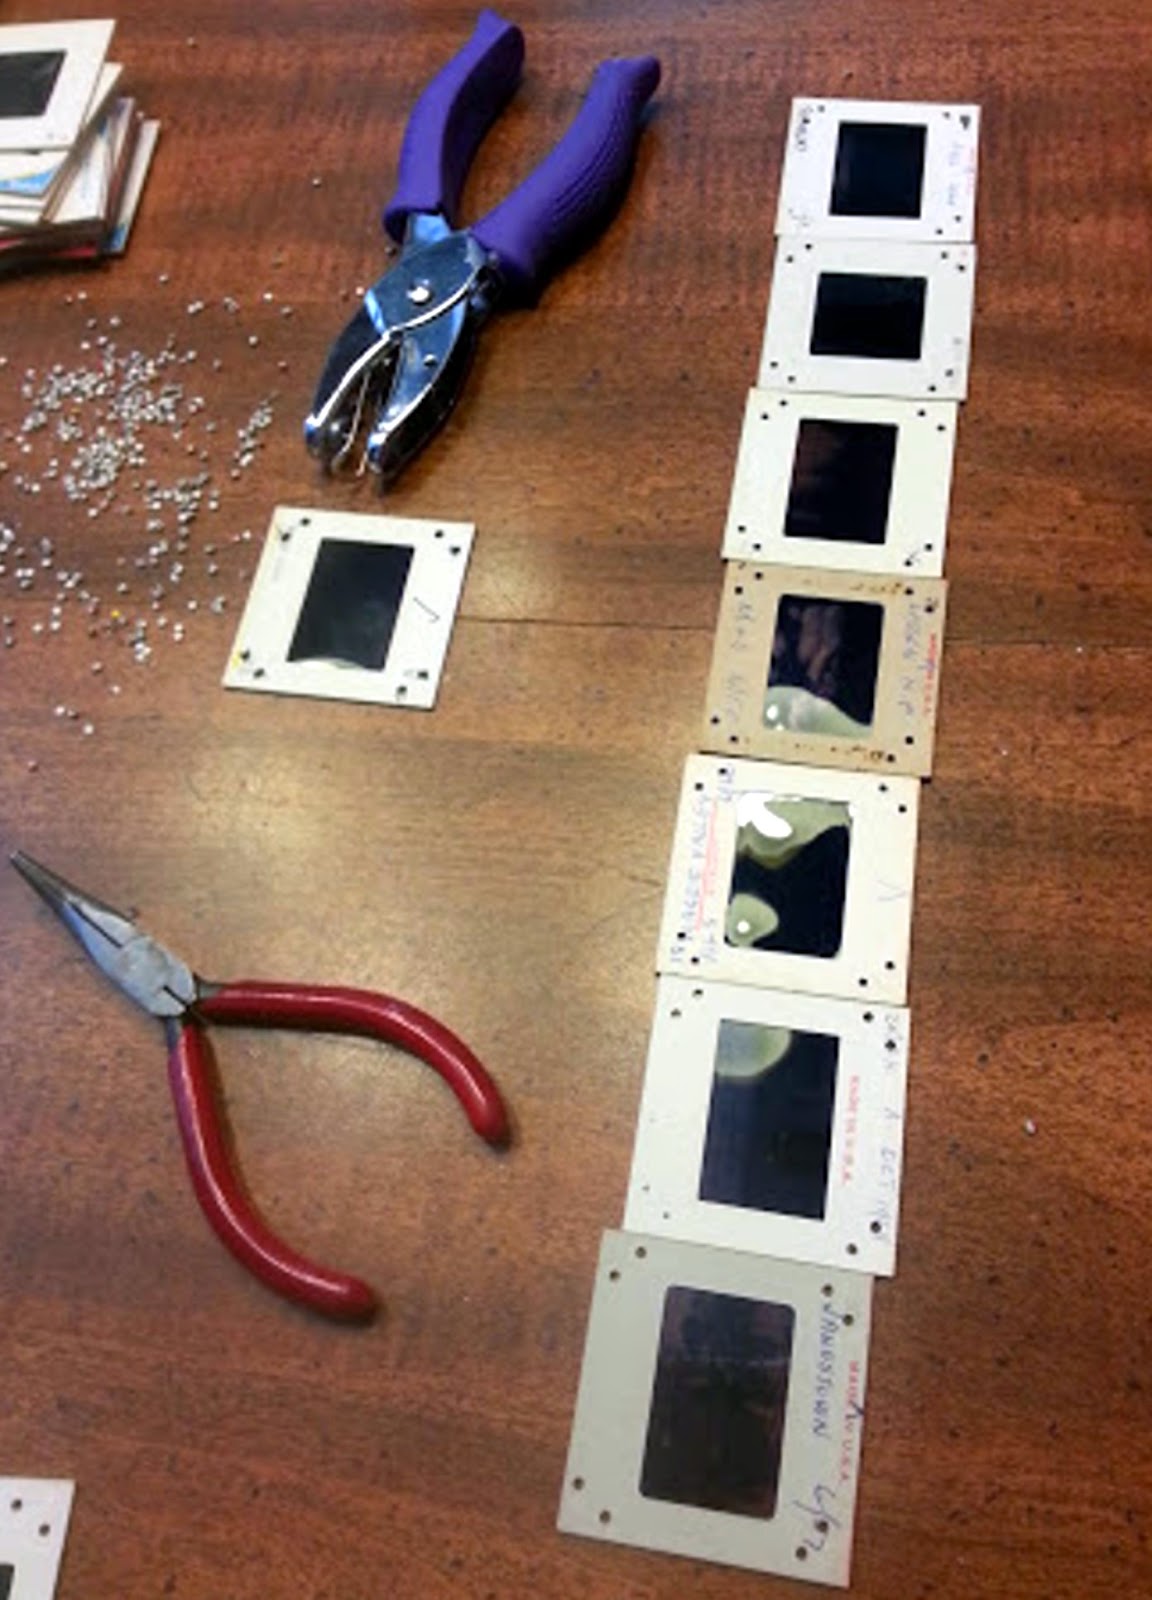
-Hole Punch, 1/16 inch
-Pliers, to open & close jump rings
-Clothes pins, to hold slide rows
-Modern Candle Stick Lamp, 20 inch tall. This one came from Walmart, $25.00
 |
It was great finding vintage family slides in carousel trays! |
 |
The light bulb holds the UNO Fitter frame in place. |
 |
An old slide viewer made it easier to construct each row. |
 |
Use an undesirable slide and create an even template. Mark each slide and punch holes. 2 holes per corner creates a smooth shade and makes a nice design when lit. |
 |
Create long rows then attach rows together. Clothes pins help to hold rows in place while threading the jump rings. |
 |
When all the rows are finished, Fold so short edges are together, then attach jump rings to form a barrel shape |
 |
Use a low watt bulb |
 |
Great for a Dorm Room! My son Loves it!!! |


No comments:
Post a Comment